Dockerizing Golang Web App to Google Container Registry
Hi! in this article we will discuss about how can we dockerize existing Golang web app and upload our image to Google Container Registry. Prerequisite :
Docker Installed
I am using docker for windows, version
Docker version 20.10.7, build f0df350Golang Web App
You could use your existing Golang web app, use my boilerplate code from the source section, or just create your own basic web app.
Google Cloud Account
This will be required to upload our image to the Google Container Registry.
Install Google Cloud SDK
We will divide our process into 2 step, Creating the docker file and Uploading our docker image to the container registry.
Creating Docker Image
Prepare the web app
In my case I will be cloning the existing Web App from my GitHub Repo, you could check the code in the description. Note that i am cloning into app folder
git clone https://github.com/arifluthfi16/go-backend-boilerplate app
$ git clone https://github.com/arifluthfi16/go-backend-boilerplate app
Cloning into 'app'...
remote: Enumerating objects: 26, done.
remote: Counting objects: 100% (26/26), done.
remote: Compressing objects: 100% (25/25), done.
Receiving objects:  50% (13/26)sed 26 (delta 0), pack-reused 0 eceiving objects:  42% (11/26)
Receiving objects: 100% (26/26), 14.65 KiB | 2.93 MiB/s, done.
After you finished cloning the web app, go ahead and CD inside to the project.
Make sure the web app is running correctly
If you are using the boilerplate provided, configure and make sure the .env file exists, since we will not be using database you does not need to concern about configuring the database config, you can leave it as is.
# WEB APP INFO
APP_NAME=Dockerize_Test
APP_VERSION=1.0


# DATABASE CONFIG
DB_HOST=example
DB_USERNAME=postgre
DB_PASSWORD=root
DB_NAME=example_db
DB_PORT=5432
Run go install to ensure all the package required are downloaded.
$ go mod download
Then you should be fine running
$ go run main.go
If you are using the provided boilerplate, you should be getting this as output.

Please note that we are only running our web app using go run to only test if it is running correctly. Now try to build the app and see if it also run correctly. Inside the /app directory run :
go build .
If you are using Windows as I did, you would be getting an .exe output

Open up your terminal and try to run the .exe file that we just generated. The command to run the .exe will be depend on the terminal you are using. I am using Git Bash if you are also using Git Bash you could run the command below.
$ ./gomvcboilerplate.exe
If you are using CMD you could just type.
gomvcboilerplate.exe
At this process we are expecting to see the similar output when we are running go run main.go. After it run successfully you could delete the .exe we will not need it to create our docker image.
Creating Docker Image
There is a few way to create a Golang docker image, in this article I will be making our Docker image from existing files on our system, to do that:
In your root folder create a new Dockerfile
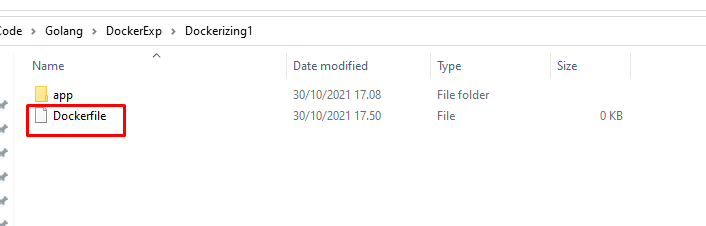
Inside the Dockerfile
FROM golang:1.17-alpine

WORKDIR /app

COPY ./app/go.mod ./
COPY ./app/go.sum ./

RUN go mod download

COPY ./app/. ./

RUN go build -o ./bin/app

EXPOSE 5050

CMD [ "./bin/app" ]
Now build the Dockerfile
docker build --tag dockerize-go-boilerplate .
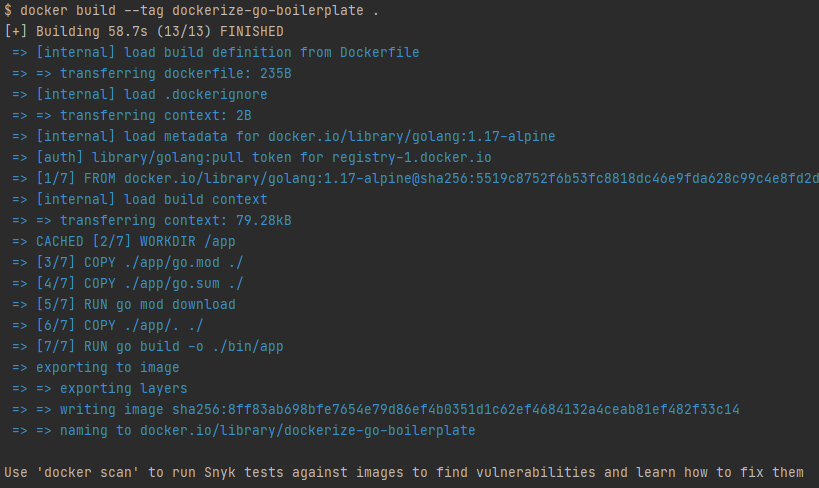
View local image, you should get something similar to result below :
$ docker image ls
REPOSITORY                       TAG         IMAGE ID       CREATED          SIZE
dockerize-go-boilerplate         latest      8ff83ab698bf   34 seconds ago   526MB
Running the docker image
To run the docker image we recently create simply use
docker run dockerize-go-boilerplate
You should see result similar to this
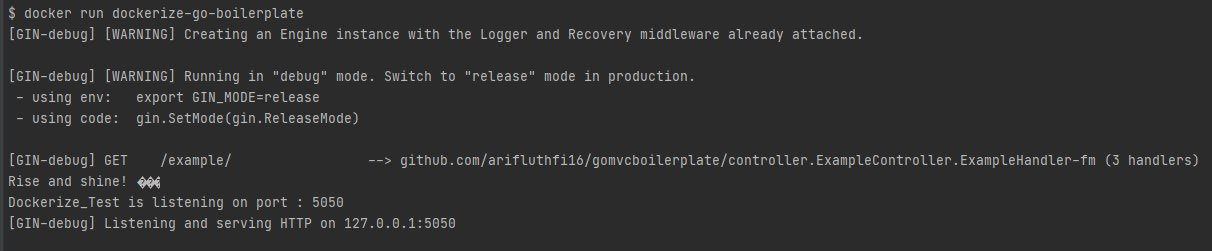
But if you open your browser and go to localhost:5050/example
It will show an error, this is because we still need to publish the port to our host machine. to do that :
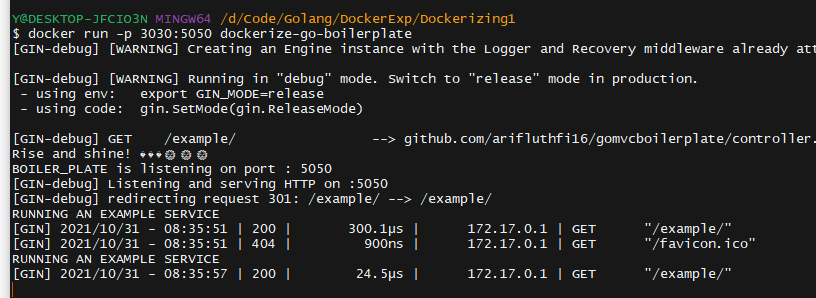
docker run -p 3030:5050 dockerize-go-boilerplate
This will publish the exposed port 5050 on our image to port 3030 in our host machine.
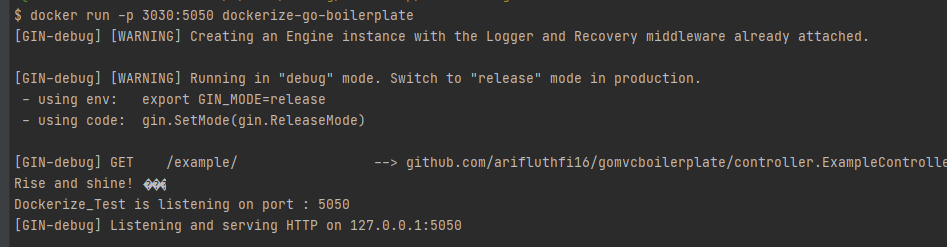
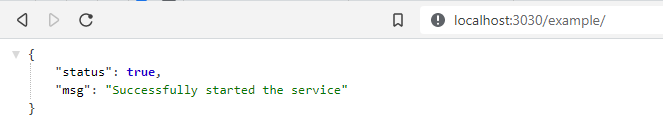
Try to open your browser and hit localhost:3030/example/ you should see something like this
Also in the console we can see the service log are being called.
If you notice if we close the terminal when running the docker service our server will also be terminated, to fix this we can run our service in detached mode, simply by adding -d flag.
docker run -p 3030:5050 dockerize-go-boilerplate

If you seeing result above, you should be fine and you can still access localhost:3030/example after closing the terminal.
Now after finished creating our image next step will be pushing the image to Google Container Registry.
Push To Google Container Registry
The first step on pushing our image to the Google Container Registry is to build the image according to the GCR standard, to build our image we will be using the syntax :
docker build -t gcr.io/<project_id>/go-boilerplate:v1
To get your project id, simply login to the google cloud console https://console.cloud.google.com/ login with your account, and select the project that you are going to work with. in the top menu bar you should be seeing list of project. Click the project dropdown then you will see list of project with the corresponding project id

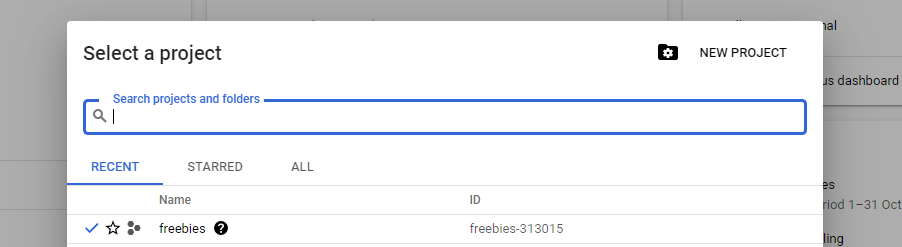
Copy the id, we will need that id to build our image. Now after you got your project id run again the build command with your project id.
docker build -t gcr.io/freebies-313015/go-boilerplate:v1 .
To see the image use docker image ls
$ docker image ls
REPOSITORY                              TAG         IMAGE ID       CREATED         SIZE
gcr.io/freebies-313015/go-boilerplate   v1          732223a0ba3a   6 hours ago     526MB
Pushing the image to the repository
To push the image to the Google Cloud Registry use
docker push gcr.io/freebies-313015/go-boilerplate:v1
$ docker push gcr.io/freebies-313015/go-boilerplate:v1
The push refers to repository [gcr.io/freebies-313015/go-boilerplate]
6a2898f27baf: Pushing [==========>                                        ]  12.22MB/56.11MB
c1ed681d9bfa: Pushed
082a30005fa0: Pushing [==>                                                ]  7.173MB/154.6MB
eaa69db84ecc: Pushed
c61ffb62d319: Pushed
b441a091eb28: Pushed
8a36f1f14af3: Pushed
bd7c18232287: Pushing [==>                                                ]  16.03MB/309.1MB
eade8b1abd17: Pushed
70b223a9dcd7: Pushed
e2eb06d8af82: Layer already exists
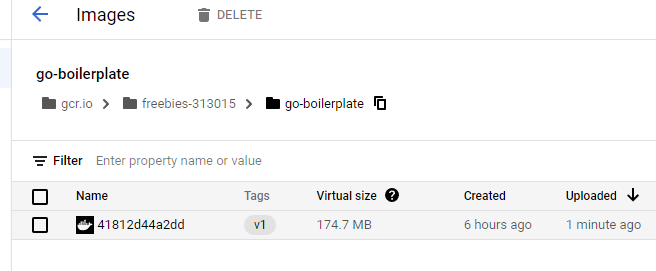
After the it completed, you should be able to see your image on the container registry.
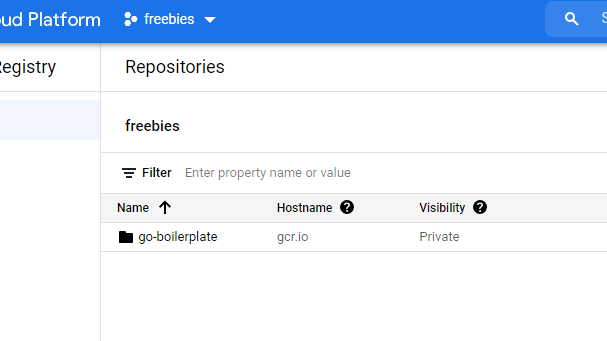
If you click upon the image, it will display a detailed meta data and all the available tags.
Possible Errors
You will be required to be authenticated to your container registry before you are able to push your image
unauthorized: You don't have the needed permissions to perform this operation, and you may have invalid credentials. To authenticate
 your request, follow the steps in: https://cloud.google.com/container-registry/docs/advanced-authentication
If you encounter the error above you could visit the help page and look for guide to authenticate. It is recommended to use the gcloud credential helper. It is as simple as running :
$ gcloud auth login
Then you will automatically prompted to login with google account, then simply:
$ gcloud auth configure-docker
After you finished configuring the setup, try to run the docker push command once more.
You could find more here https://cloud.google.com/container-registry/docs/advanced-authentication
Thankyou for reading this article!
Source Code
Web App That I used to create the image:
https://github.com/arifluthfi16/go-backend-boilerplate