Overview
In this article we will host a Go Web App using Google Cloud Run and also connect it Cloud SQL. This way we will be having a fully functioning Serverless Web App that connected to databases..
Goals & Milestone
Here are few goals of this project:
- Create & Prepare Cloud SQL
- Build and Upload App Image to GCR
- Deploy GCR Image To Cloud Run And Connect To Cloud SQL
Prerequisite
Google Cloud Account
You will need to activate your google cloud with credit card since Cloud SQL offers no Free Tier.
Docker Installed
Docker will be used to build and upload the image.
Postgres Installed on your local machine (Optional)
Architecture Overview
This diagram shows the general idea of the architecture that we are going to build.

It is a fairly simple and straight forward architecture. No load balancing, no VPC Connectors, hence it’s simplicity I hope we can learn much from what are we going to create!
Part 1 - Create & Prepare Cloud SQL
In this part we were prepare our Cloud SQL. And we will use PostgreSQL as our DBMS. I won’t be covering detailed step by step on this article, if you wanted to get a more detailed information you could visit my article on How to Host Database on Google Cloud SQL.
Creating Cloud SQL
Login and Open Your Google Cloud Console, in the search box look for Cloud SQL
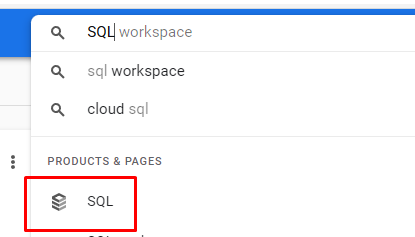
Click and open the Cloud SQL service.
On the Cloud SQL Interface click on Create Instance
Choose database according to your needs, in this scenario since my web app will be using PostgreSQL choose PostgreSQL
Here are the Configuration that i will be using. One thing to note is that we will be connection our Cloud Run to Cloud SQL using Public IP
Instance Info & Region Setting
You can fill-in instance ID with anything that identify your project, and password too. I Suggest to use the generated password option, just remember to save the generated password somewhere else.
For the region setting since we will not be dealing with High Availability Zone, we will use single region.
Furthermore here are the configuration for the Instance
Machine Type
Storage
Connections
Backups
Leave rest as default and proceed Click Create Instance.
Prepare DB
In this step we will be preparing the database that we will use. after the db creation is finished navigate to database in the side bar.
Then create a database according to your needs. In my case i will be create a new database with the name example_db.
Important Output
To make it simple here are the important information that you should have after you create the Cloud SQL.
| # | Description | Example Value |
|---|---|---|
| Instance Connection Name | You can get get this value from overview | freebies-xxx:us-central1:clodurun-test |
| Username | You can check this one on users panel | postgres |
| Password | Generated password when creating db | –your password– |
| DB Name | The database name that you will be connecting to | example_db |
If you already have the information above you are good to go to the next step.
Part 2 - Build and Upload Image to GCR
In ths section we will be:
- Configure for SQL Connection & Smoke Test
- Create a Dockerfile for the app
- Build the Dockerfile
- Push Dockerfile to GCR
Configure App for SQL Connection & Smoke Test
In this example i will be using my Go boilerplate app, you can find it here -> Go Boilerplate
git clone https://github.com/arifluthfi16/go-backend-boilerplate app
First of all we need to check that our app is actually connect to database. If you are using the Boilerplate above you could simply cofigure the .env simply create a new .env file and copy all the content from .env.example. Then simply fill in the .env with your local connection information:
/.env
# WEB APP INFO
APP_NAME=BOILER_PLATE
APP_VERSION=1.0

# DATABASE CONFIG
DB_HOST=localhost
DB_USERNAME=<your local username>
DB_PASSWORD=<your local password>
DB_NAME=example_db
DB_PORT=5432
Then try to run the app
go run main.go
After the app is running, navigate to your browser and open localhost/example/checkdb
You should if everything run smoothly you should be getting this output. After we finished our Smoke Test we need to configure our app .env setting to match our Cloud SQL config that we got before:
/.env
# WEB APP INFO
APP_NAME=BOILER_PLATE
APP_VERSION=1.0

# DATABASE CONFIG
DB_HOST=/cloudsql/<instance connection name>
DB_USERNAME=<cloud sql username>
DB_PASSWORD=<cloud sql password>
DB_NAME=example_db
DB_PORT=5432
We are addeding /cloudsql/ becase we are are going to connect via the Unix Socket.
You are good to go after finished configuring the .env
Creating Dockerfile
First of all create a Dockerfile outside your app root. For reference this is how my File looks like.

I will not be covering what happen inside the Dockerfile if you wanted a more detailed guide check my article on Dockerizing and Push Golang Web App to Google Container Registry (GCR). Furthermore here is my Dockerfile
FROM golang:1.17-alpine

WORKDIR /app

COPY ./app/go.mod ./
COPY ./app/go.sum ./

RUN go mod download

COPY ./app/. ./

RUN go build -o ./bin/app

EXPOSE 8080

CMD [ "./bin/app" ]
Build & Push Image
Then build the image as show below:
$ docker build --tag <source_image> gcr.io/<project_id>/<image_name>:<tag_version>
E.g:
$ docker build --tag gcr.io/freebies-313015/go-cloudrun-cloudsql:v1
Finally, push the image:
$ docker push gcr.io/freebies-313015/go-cloudrun-cloudsql:v1
Pushing the image will take sometimes, it is a good time to get a cup of coffee ☕.
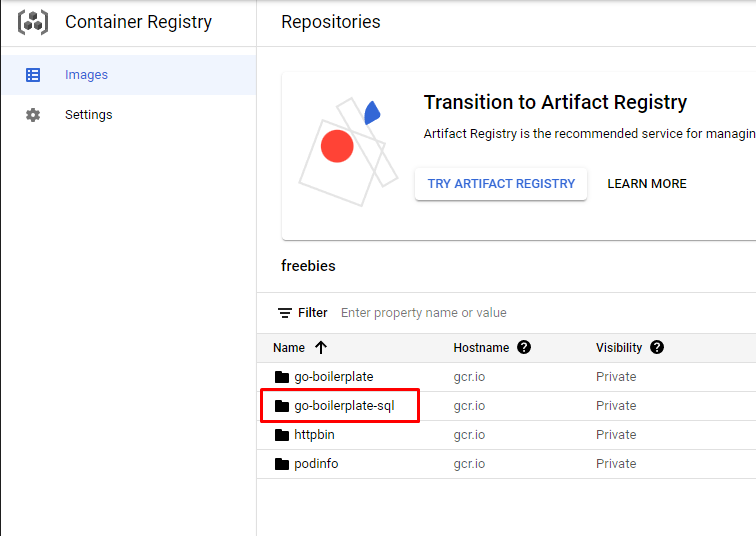
After the image is pushed, you should be able to see the image in your container registry dashboard:
Next part we will be Deploying Our Image to Cloud Run and Connecting it to Cloud SQL.
Part 3 - Deploy Cloud Run & Connect Cloud SQL
Deploying to Cloud Run
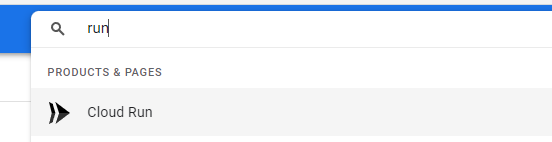
In your Cloud Console, look for Cloud Run, Open it. And click Create Service
In the Service Setting
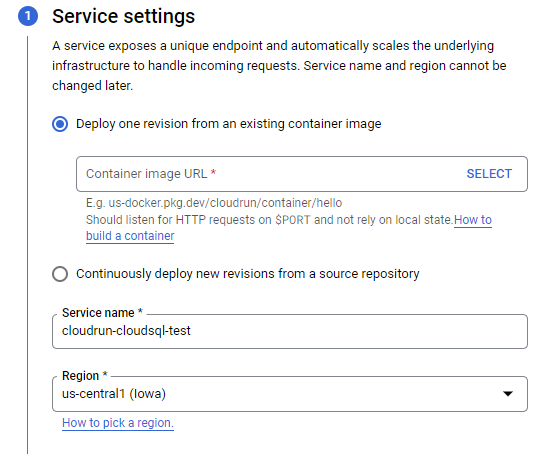
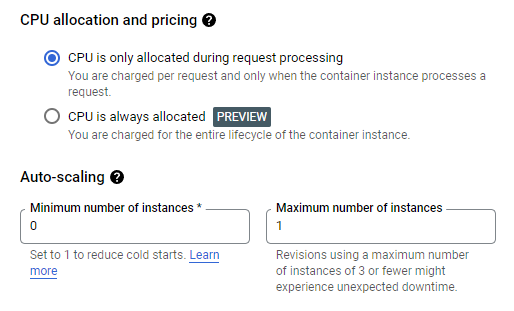
You can fill in the service name with anything you want to identify the Cloud Run instance, then select the image that we recently upload to GCR. And since it is only a test, i will set my Auto Scaling to the minimum amount.
Advanced Settings - Container
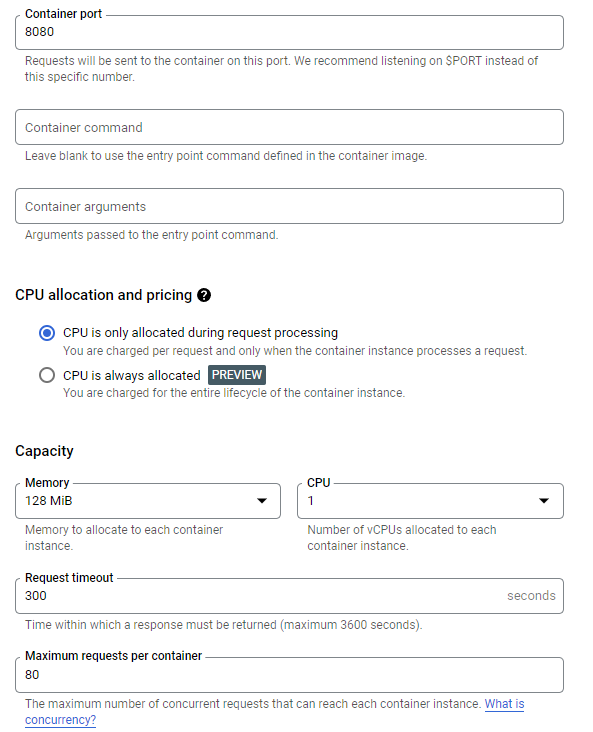
In the advanced container setting, set the port into 8080 since our the is listening on port 8080. How do we know this?
checkout
Run()inmain.go. It is also recommended to make our app to listen to$PORTenvironment variables.func (server *Server) Run() { port := os.Getenv("PORT") if port == "" { port = "8080" } fmt.Println("Rise and shine! 🌞🌞🌞") fmt.Println(config.ServerConfig.AppConfig.AppName + " is listening on port : "+port) server.Router.Run(":"+port) }Advanced Settings - Connection
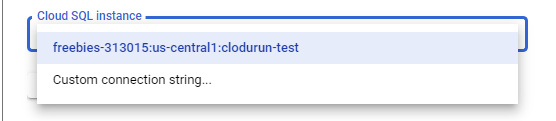
In this part select Cloud SQL Instance to the instance that we recently created.
Don’t forget to click on the Enable Cloud SQL Admin API if it is required. Other than options above, we will leave as default
Configure how this service triggered
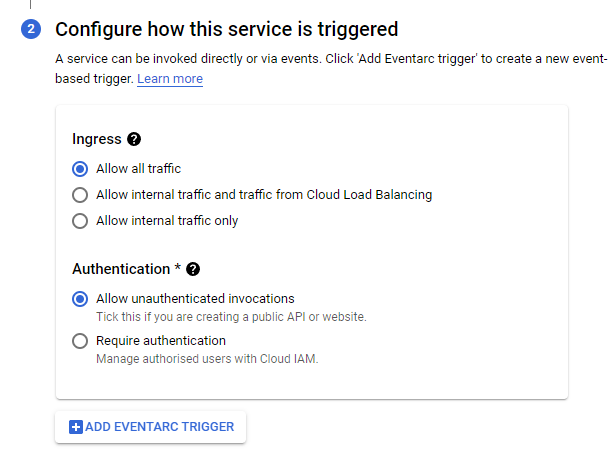
Simply allow All Traffic and also Allow Unauthenticated Invocations, this will enable us to create a request from our public ip. Then simply Click Create. Wait till the cloud run is created. After the cloud run instance is created you should see something like this:
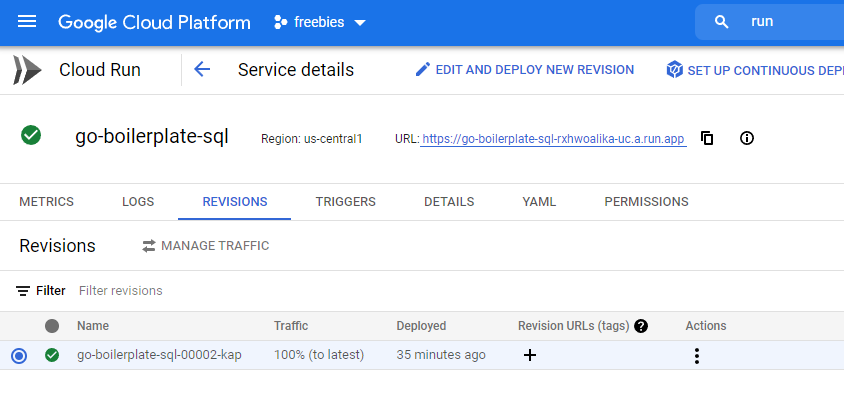
You will also get a public URL to access your Cloud Run App. to check if the database is actually working open the link an navigate to the /example/checkdb
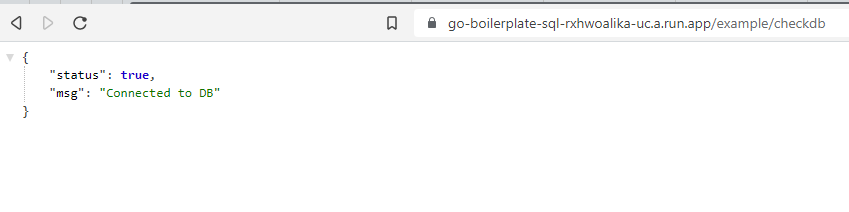
If everything went well, you should see result as shown above!
Congratulation you have been successfully Deployed Cloud Run instance and connect it to Cloud SQL!
Thankyou so much if you finished reading this article, please feel free to ask any question or critique!
I hope this article can help anyone in their learning endeavour. Peace out ✌✌✌
Some Tip
If you failed to deploy the image always check the logs, it helps a lot.
After you finish, do not forget to Delete Cloud SQL Instance since there are no free tier for Cloud SQL, you could be charged with unwanted bills.
There are several ways to use env variables, if you want you could remove .env and Dotenv support and just listen to env variables from the cloud service, it will be much simpler.
References
Connecting Via Unix Socket:
More on Cloud SQL Postgres Connections: