Overview
In this article we will talk about how we can create a database in google cloud Cloud SQL.
Cloud SQL is a fully-managed database service that helps you set up, maintain, manage, and administer your relational databases on Google Cloud Platform. You can use Cloud SQL with MySQL, PostgreSQL, or SQL Server.
from : cloud.google.com/sql
Prerequisite
Google Cloud Account
Database Tool
I am using DBeaver
Project Goals
- Create a new Google Cloud SQL Instance from the Cloud Console
- Access the newly created Google Cloud SQL from our local machine]
- Create and run existing SQL Scripts
Creating new Cloud SQL Instance
Login to your google cloud, and navigate to your console. Select an existing project or create a new one.
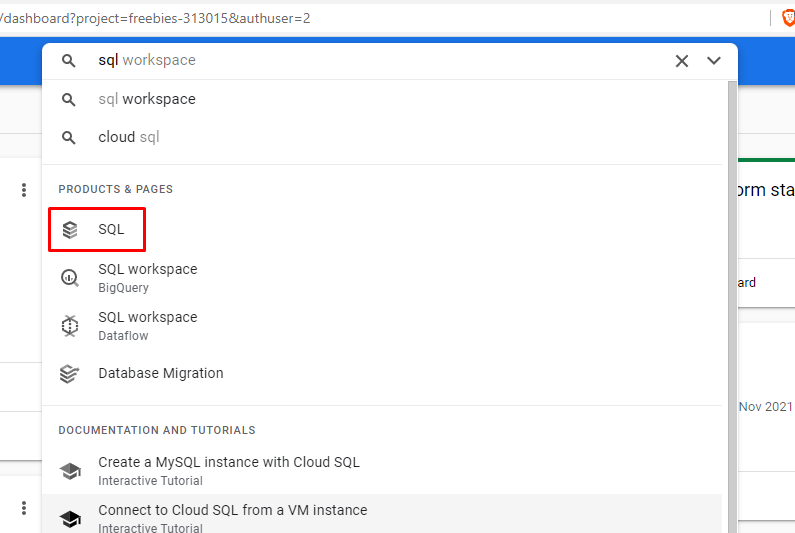
- In the search box type ‘sql’ then you should see SQL in the section Product & Pages
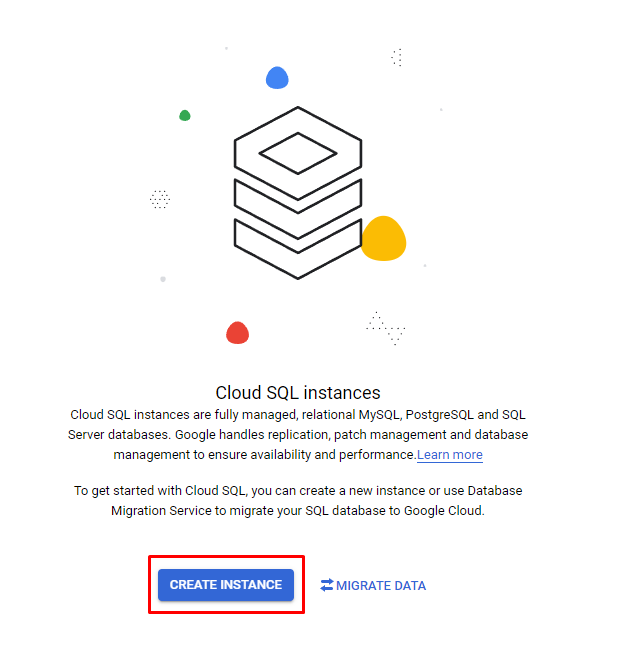
- Click On Create Instance
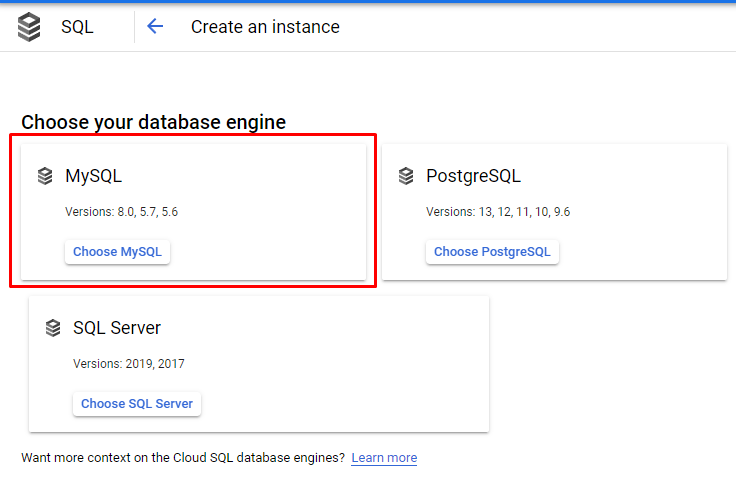
- Cloud SQL provided several database engine, here we will be using MySQL.
- Configure the instance
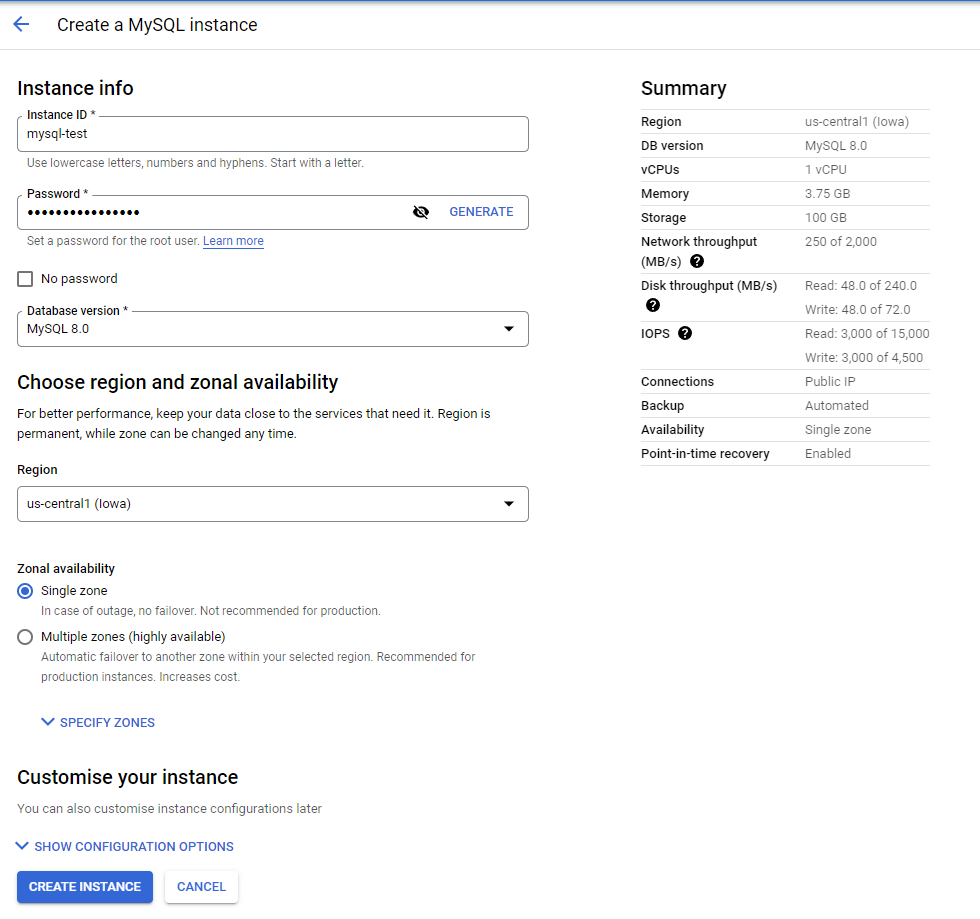
Here is some Configuration Details:
Instance ID
The instance ID is the name of the instance. It is used to uniquely identify your instance within the project. Choose an instance name that is aligned with the purpose of the instance when possible.
You can fill Instance ID with anything you wanted, it is just a way to identify the Cloud SQL instance.
Password
You could fillin the password manually, or you could just generate the password. Make sure you save your password in a note somewhere.
Database Version
We will be using MySQL 8.0 since it is the latest one and it also support older version of SQL.
Region
Note that Region cannot be changed after the instance of created, while you can change your zone any time. If you wanted to you could pick a region that suite your purposes. Picking a region will be super important when you wanted to use the Cloud SQL for production. But for current scenario I will just stick to the default.

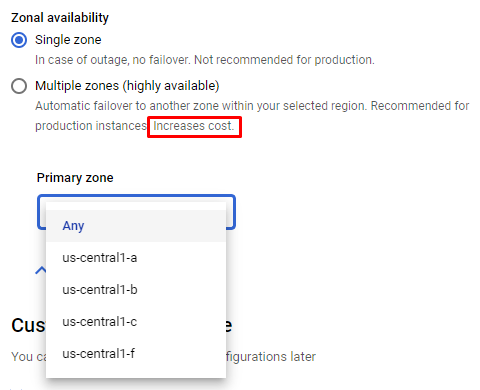
Zone Availability
You could select Multiple Availability Zones to ensure that the service will have High Availability, but it comes with a cost. Since our current purpose is just to create an instance and try it out we will pick Single Zone.
After you finish fiddling with the configuration click Create Instance.

It will take a few minutes to create the instance. After it completed you have finished creating your Cloud SQL Instance.
Connecting to the Instance
Open your MySQL Client or Database Explorer, i am using DBeaver it is a free and universal database tools check it out here
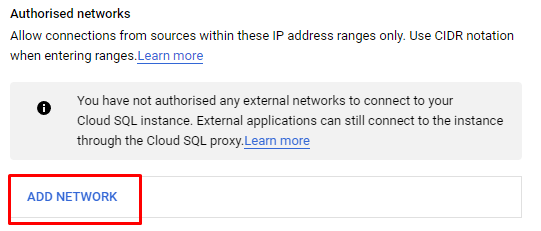
Configure Authorized Networks,
In the Side Navigation go to Connections, you can see that there is a warning that we have not authorized any external network. To add one simply click on Add Network.
Then Add a new network with this setting:
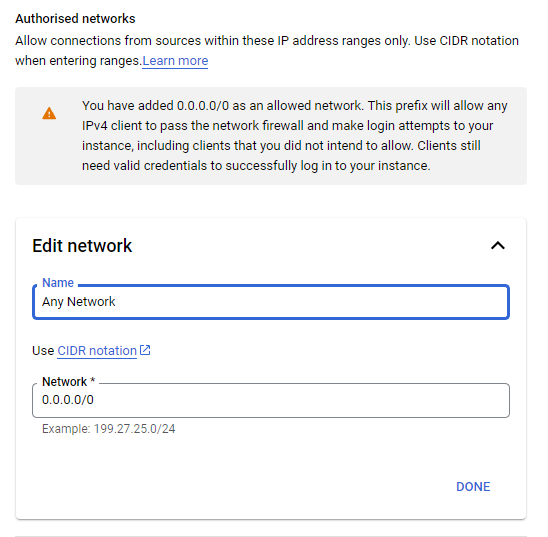
This setting will allow anyone to connect to the database, please note that this is not a recommended approach when you wanted to make a production database. But for this tutorial this one is enough, click save after you finished editing the new configuration.
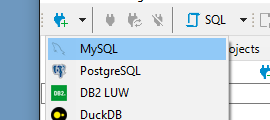
Create a new connection and select MySQL
When adding a new connection, you will be prompted to enter the connection info, please note that we are connecting to the database using HTTP. To check your connection information head to recently created instance page and look for Connect to the Instance. We will use the public ip as our Host.
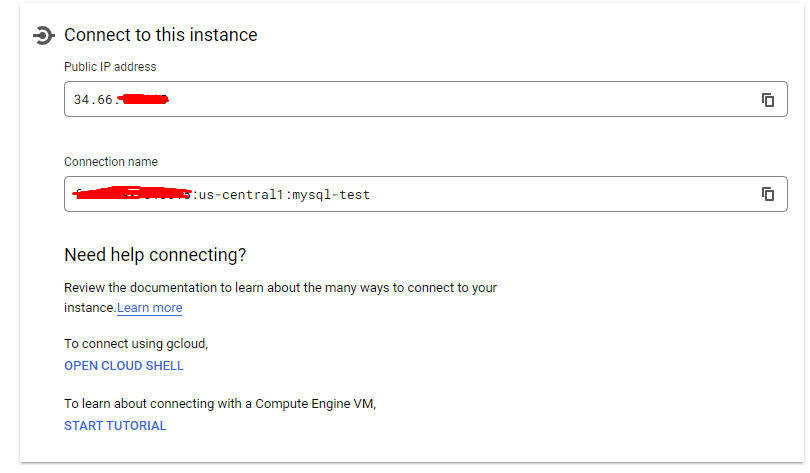
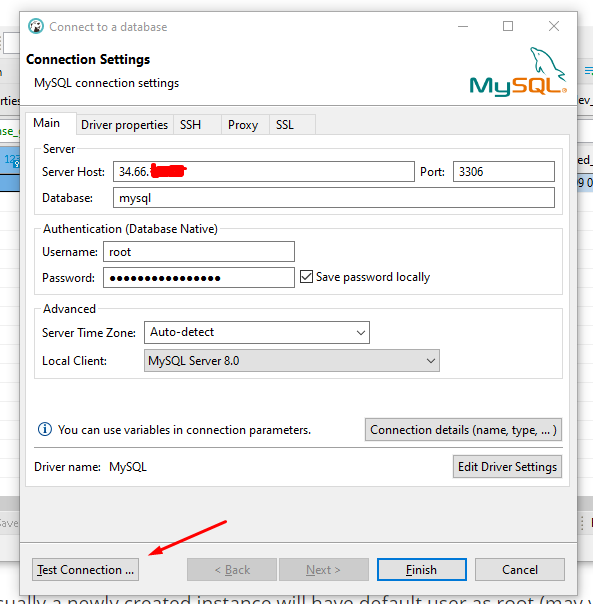
Enter the connection information.
Use the public IP Address as the host, for the available user you could check it Users in the side navigation bar
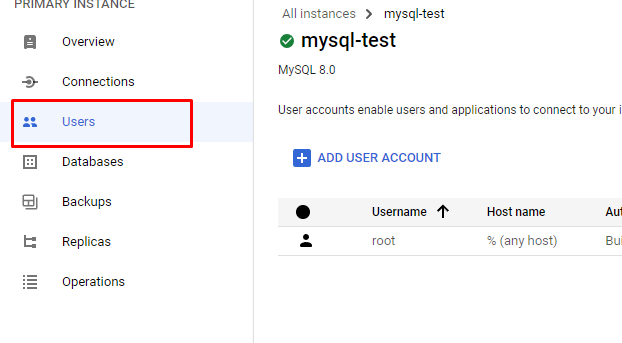
Usually a newly created instance will have default user as root (may varies on the database you used) with the password that we generate earlier. Enter the network configuration and test the connection.
If the connection created successfully you should see this.
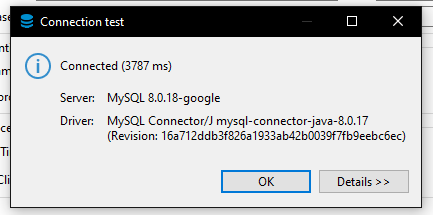
Click finish, and you should be able to browse the connected database.
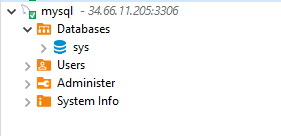
From this point your database is ready to use.
Create a Database
- From your DBeaver menu open a new console
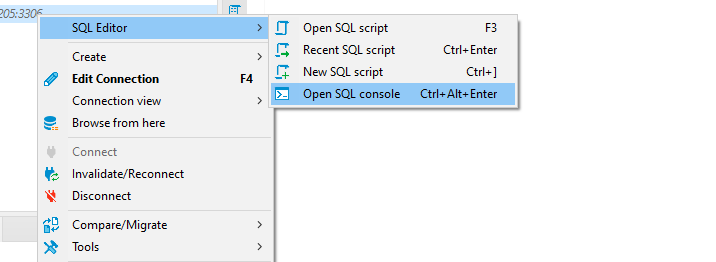
In the console type
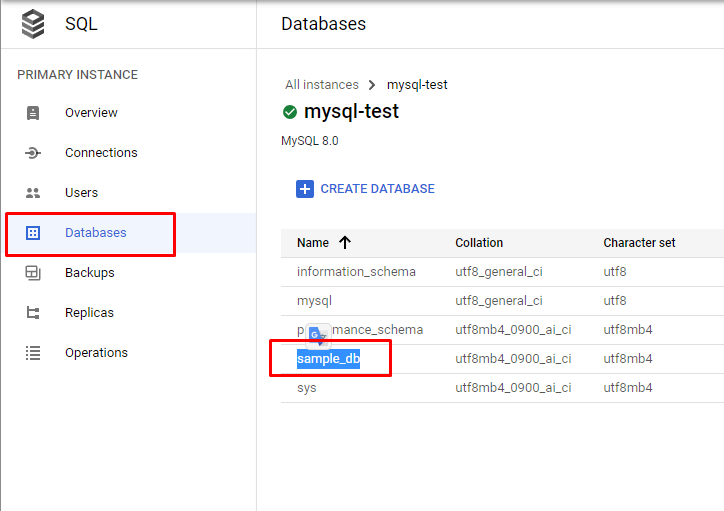
CREATE DATABASE sample_db;To execute query block the script and use
CTRL + Enter(Select the script one by one)You can clarify that a new database is created from the Cloud SQL Interface.
Creating a Table & Permissions
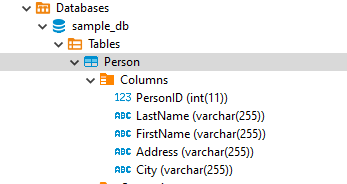
USE sample_db;

CREATE TABLE Person (
    PersonID int,
    LastName varchar(255),
    FirstName varchar(255),
    Address varchar(255),
    City varchar(255)
);
If you tried to execute this you might encounter this error:
SQL Error [1142] [42000]: CREATE command denied to user 'root'@'180.244.xxx.xxx' for table 'Person'
This happens because by default even the root user did not granted all permission at once, read it here, to give the user certain permission you can use :
USE mysql;

GRANT CREATE TABLESPACE ON *.* TO 'root' WITH GRANT OPTION;
Now if you re run the SQL Script to create table, it will work with no error.
That’s It! As always thank you for reading this article, and feel free to ask any question or give critique! Thank you!
References
Creating & Connecting to Cloud SQL Instance :
Network Authorization :
Authorizing All Network:
https://stackoverflow.com/questions/28339849/google-cloud-sql-authorize-all-ips
SQL Grant Statement